Visit GLIDER blogger Template Post to know the features and details about Glider Template.
We have launched the Glider V1 Premium Blogger Template few Months ago and got huge and favorable reply from blogger lovers. Also We have received so many mails regarding the maintenance and up to date version of this Template.Now We have improved the Slider of the Glider Template and fixed some errors in the code. Today We have the Version 2 of Glider Blogger Template.
How To Install This Template?
1.Download the Template and open XML file. Then Open the template file in the Editor to edit the code, Good to use Notepad++ or something like this.
2.Navigation bar
The template has two menu navigation system. To enter the exact url for navigation search for
- Top Navigation: <div id=’topnav’> and find the navigation liks and change the link URL to match the url in your blog post.
- Category Navigation: For the second column nav bar search for <div id=’catnav’> and do the same.
3.Advertisements
1.Banner 728:
This Blogger Template has banner after the header with size 728×90.To add the banner ad find
<div class=’banner728′> and add your ad code.
2.Banner 468:
This Blogger Template has banner in the blog page content with size 4688×60.To add the banner ad find
<div class=’banner468′> and add your ad code.
3. Sidebar Ads:
In the Sidebar you can include Site-wide 120×600 Sidebar banner ads and 125×125 banner ads.Then find ‘Recent Articles’ and add the banner ad size 468×96.
4.Featured Post slideshow
For Featured Slideshow you need to create the label exactly like this ‘Featured’ and post your featured posts in the Featured label section,it will be displayed automatically in Featured Articles section.
5.Category Thumbnail section

In home page I include four category sections to show the recent
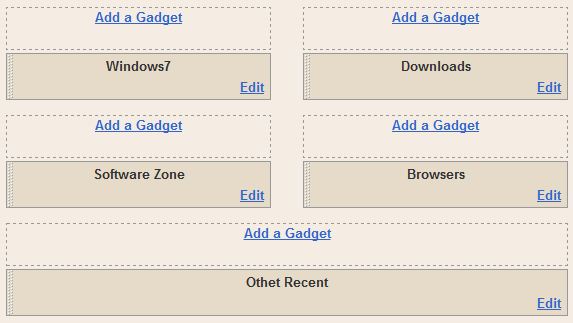
posts of the each labels.For That you need to Go to To to Page elements in Blogger design section. Assign your desired label for those sections find ‘category sections’ and assign your desired category title and label.
Note: Just upload your Template xml file before going to step 5.
6.SEO:
You have to add meta Title and description tags to your site to improve your search engine rankings.
To add meta tags in the template go to this post “Change your Blog post Title Tag SEO friendly to increase Google PageRank in Blogger?“.
7. Social Network Buttons and Icons:
To get more traffic and reputation to your blog, you need social networking sites.Facebook and Twitter are more useful to spread your posts and improve the traffic of your blog.
To add social Networking Buttons, head to this post “How To: Add Google+ Button & All Social Networking Buttons in Blogger blog”
That’s it…Enjoy with us.
If you have any problem during installation of the template and if you have errors then hits up our comment section..We will help you..
Many posts are coming soon like this in our blog.so “enter your email address” and subscribe to receive the updates.


